FOR DEVELOPERS
Explore developer resources
Build. Integrate. Innovate. Learn how easy it is to transform your products and solutions with AI-powered eye-tracking from HarmonEyes.
Unity SDK Install
Step1: Install Dependencies
Install the base dependencies if they are not already installed. Refer to the associated developer documentation for guidance
[TextMeshPro](https://docs.unity3d.com/Packages/com.unity.textmeshpro@latest/) (com.unity.textmeshpro)
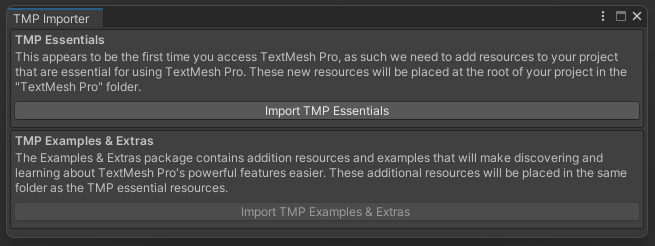
TextMeshPro is shipped with Unity, no action is required to aquire or install it. The first time a scene requires TMP in a project, you will see this window – click ‘Import TMP Essentials’:
Step 2: Download https://github.com/harmoneyes/HarmonEyesSDK/raw/main/HarmonEyesSDK.unitypackage
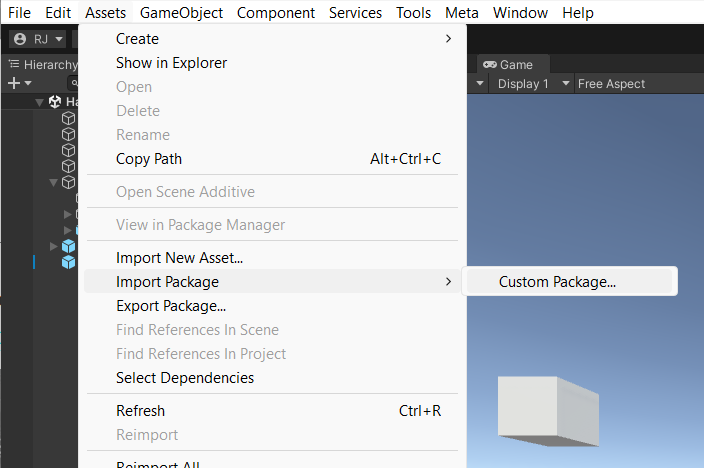
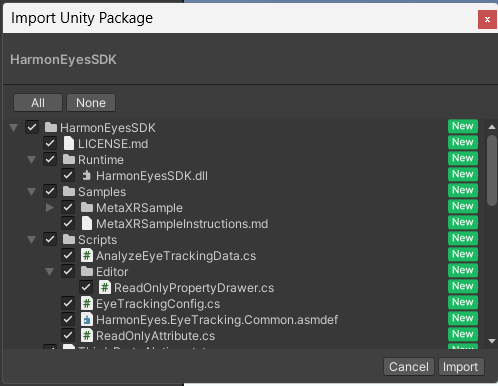
Step 3: In Unity, select Assets > Import Package > Custom Package… and open the HarmonEyesSDK.unitypackage file you just downloaded. Click ‘OK’ leaving all boxes checked when the ‘Import Unity Package’ window opens.
Mock Tracker Sample
The HarmonEyes SDK ships with a Mock Tracker sample that lets you exercise the SDK and validate your license key without needing a Vive or Meta Quest Pro headset connected. It also lets you replay CSV recordings captured by the Vive or Meta sample collectors, so you can re-run the SDK against a known data stream for testing or debugging.
- In the Project window, open Assets/HarmonEyesSDK/Samples/HarmonEyesMockTrackerSample/Scenes/HarmonEyesMockTrackerSampleScene.
- Select the EyeTrackingDataMockAnalyzer prefab in the scene and enter your license key in the EyeTrackingConfig component inspector field.
- On the same prefab, the MockEyeTrackingCollectingData component exposes a “Session Csv” slot under “Mock playback source”. A bundled CSV (eyetrackingsample_meta_quest_pro.csv) is assigned by default. To replay your own data, drag a CSV recorded by the Vive or Meta sample (recorded via the “Record Csv” toggle on those collectors) into this slot.
- The “Playback Speed Multiplier” field (1x–20x) controls how fast rows are emitted. 1x replays at the recorded cadence; higher values compress wall-clock time so the SDK’s time-gated models (Fatigue, Mental Readiness) reach their thresholds faster during testing.
- Select the appropriate eye tracker type in the Analyze Eye Tracking Data component (Defaults to ‘Pupil Labs’ to match the sample csv eye data selected to allow testing of the SDK functionality without an eye tracker connected)
- Press Play. The in-scene text fields will display the same Mental Workload, Fatigue, Attention, and Mental Readiness readouts — confirming the SDK is loaded and the license key validated. If the license key is invalid, a warning message appears in the text fields and the console.